
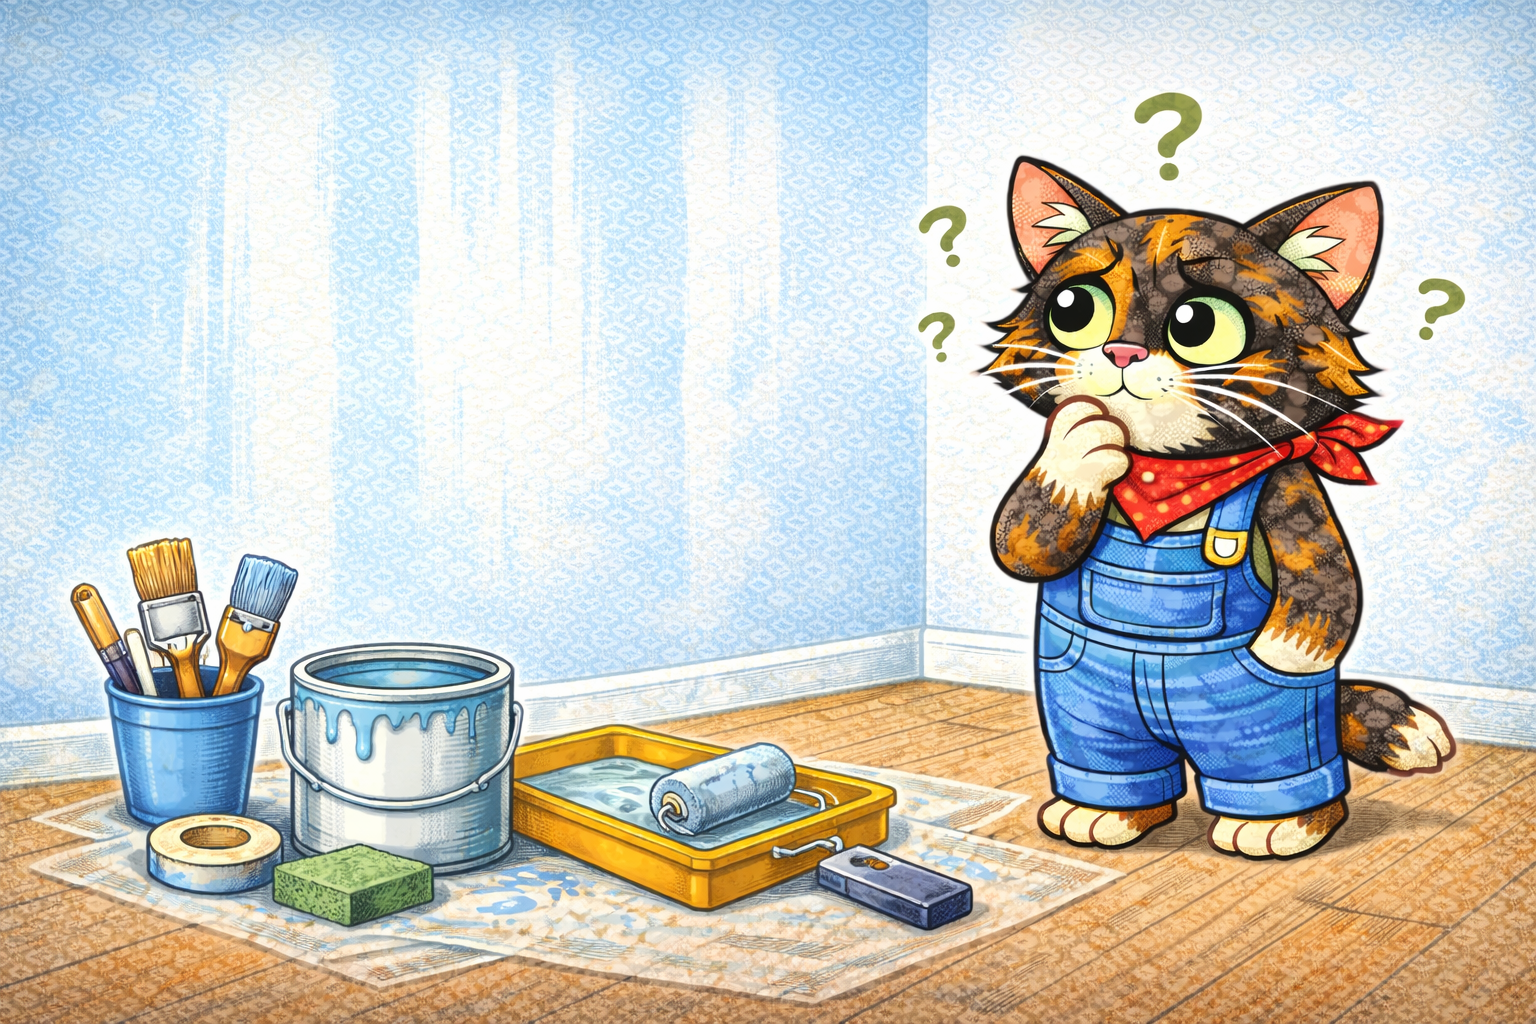
Few things are more frustrating than stepping back after painting and noticing roller marks, lines, or streaks all over the wall. I’ve definitely had that moment of “Wait… was it always like that?”
The good news is this is a very common beginner paint problem, and it’s usually caused by a handful of fixable things. Let’s walk through why roller marks happen, how to fix them if they’re already there, and how to prevent them next time.
The Problem: Why Roller Marks and Lines Appear
Roller marks happen when paint isn’t applied evenly or doesn’t have enough time to level out before it starts drying.
Some of the most common causes include:
- Using a roller nap that’s wrong for the wall texture
- Applying uneven pressure while rolling
- Not loading enough paint onto the roller
- Painting in sections that dry at different speeds
- Using low-quality paint that doesn’t level well
Paint may look smooth while wet, but once it dries, those lines become much more noticeable.
How to Tell What’s Causing Your Roller Marks
A few clues can help narrow it down:
- Lines in a consistent pattern → Uneven pressure or roller technique
- Thicker edges or stripes → Roller drying out mid-wall
- Patchy or shiny areas → Inconsistent paint coverage or sheen
- Raised texture → Roller nap too thick for the surface
Understanding the cause makes the fix much easier.
The Solution: How to Fix Roller Marks Now
What you do depends on whether the paint is still wet or already dry.
If the Paint Is Still Wet
You’re in luck — this is the easiest fix.
Try this:
- Reload your roller with paint
- Lightly roll over the area using long, even strokes
- Use light pressure — let the roller do the work
- Finish with gentle, upward strokes to even everything out
Avoid overworking the paint, which can make marks worse.
If the Paint Has Already Dried
This is still fixable — it just takes an extra step.
Steps to take:
- Lightly sand the wall to smooth raised lines
- Wipe away dust with a damp cloth
- Apply another coat of paint
- Use consistent pressure and overlap strokes slightly
A fresh, even coat usually hides roller marks very well.
Why Paint Quality Matters Here
Lower-quality paint tends to show roller marks more easily because it doesn’t level as well.
Higher-quality paint:
- Flows more smoothly
- Gives you more working time
- Hides roller marks better
You don’t need the most expensive paint — just one designed for good coverage.
Prevention: How to Avoid Roller Marks Next Time
This is where painting gets much easier.
Use the Right Roller
- Smooth walls → Short nap
- Light texture → Medium nap
- Rough texture → Thicker nap
Using the wrong nap can create unwanted texture.
Load the Roller Properly
- Fully load the roller before starting
- Re-dip often
- Don’t let the roller dry out mid-wall
A dry roller is one of the biggest causes of lines.
Use Consistent Technique
- Work in manageable sections
- Maintain steady pressure
- Overlap strokes slightly
- Keep a “wet edge” as you paint
This helps paint blend smoothly.
Give Paint Enough Time
- Avoid painting in very hot or dry conditions
- Follow recoat time recommendations
- Let paint level naturally before it starts drying
Final Thoughts
Roller marks and lines are frustrating — but they’re also one of the most common painting issues beginners run into. The good news is that they’re almost always fixable and preventable with the right tools and technique.
Once you understand what causes them, painting feels a lot less intimidating — and your walls end up looking much smoother.
And if you’ve already got a few roller marks on your wall? You didn’t fail — you’re just learning.
Leave a Reply