
If you’re a beginner, sanding might feel like an optional extra — something only pros do when they’re being extra precise. I used to think that too. But sanding isn’t about perfection or fancy technique. It’s about helping paint stick, spread, and look better.
Once you understand what sanding actually does (and how little sanding is usually needed), it stops feeling like a chore and starts feeling like a shortcut to better results. There’s even a handy chart at the end of this article that compares sandpaper grits, to making choosing the perfect one for your project even easier.
What Sanding Actually Does (In Plain Language)
Sanding helps by:
- Smoothing rough spots
- Knocking down raised edges from patches or spackle
- Removing tiny bumps you might not see but can feel
- Dulling shiny surfaces so paint can grip
Paint sticks best to surfaces that are slightly rough, not slick or uneven.
Why Sanding Is Especially Important Before Painting Walls
Walls often have hidden issues like:
- Raised edges around patched holes
- Old paint drips or roller texture
- Glossy spots from cleaning or wear
- Minor bumps and imperfections
If you paint right over those, paint doesn’t magically hide them — it highlights them.
Sanding helps level things out so the paint looks intentional instead of accidental.
The Good News: You Usually Don’t Need to Sand Everything
This is where beginners often get overwhelmed.
For most wall painting projects, sanding is:
- Light
- Targeted
- Quick
You’re not stripping paint or grinding down walls. You’re just smoothing problem areas and helping paint behave better.
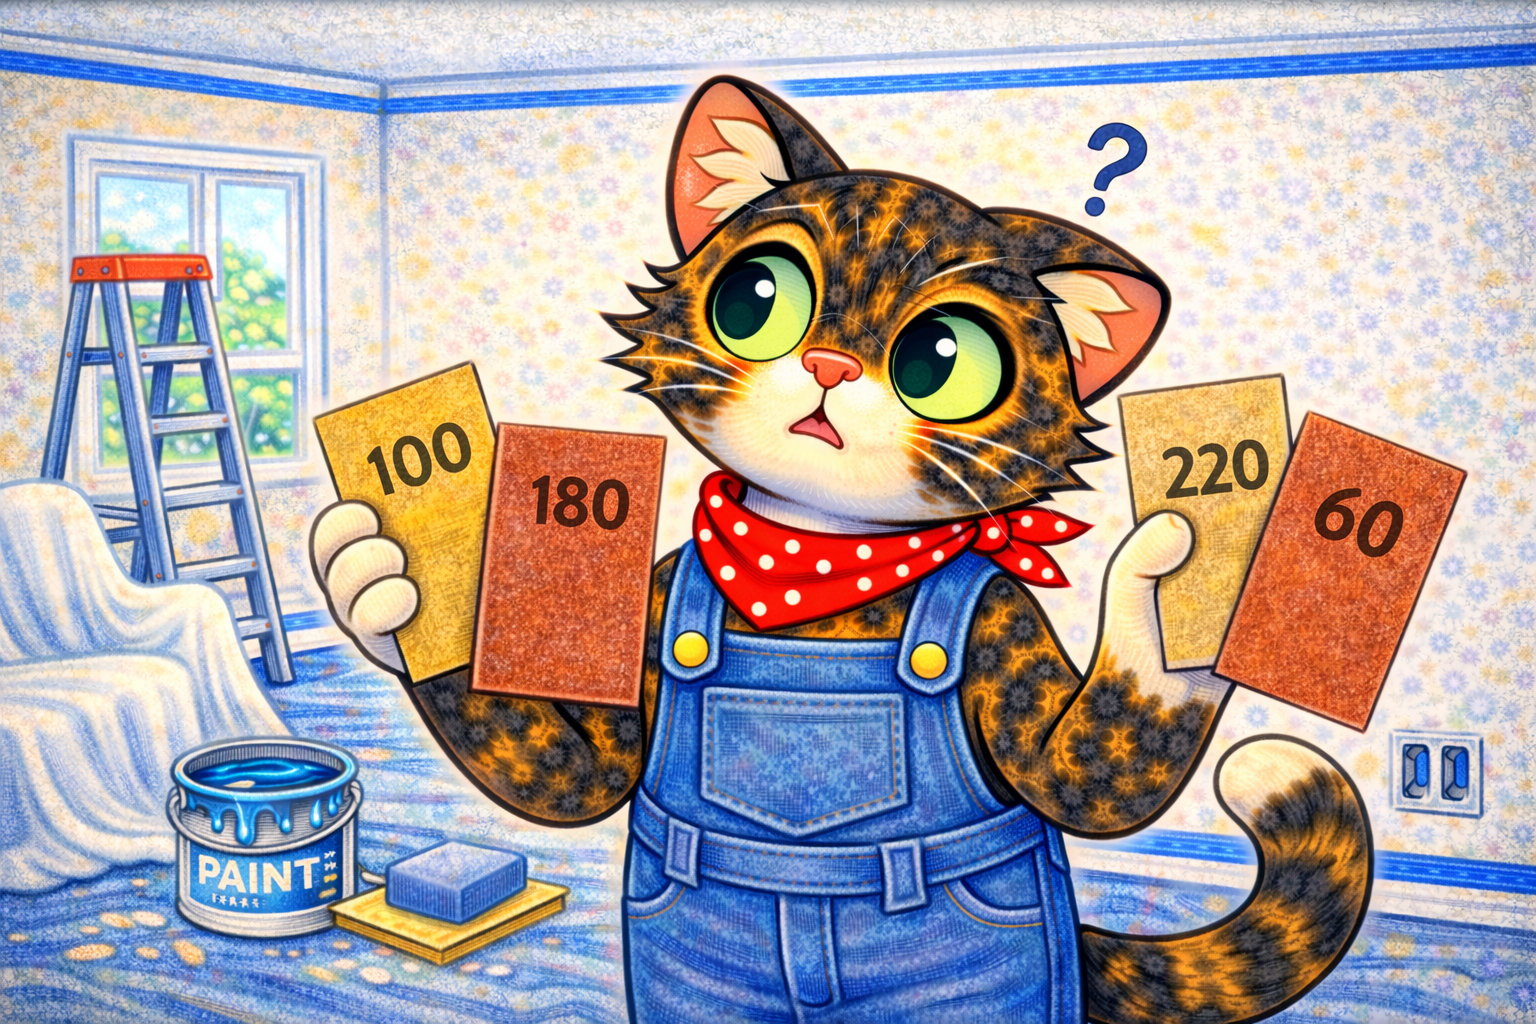
Understanding Sandpaper Grit (Without the Confusion)
Sandpaper grit refers to how rough or smooth the paper is. The lower the number, the rougher it is. The higher the number, the smoother it is.
Here’s how that matters for wall painting.
Low Grit (60–100): Usually Not for Walls
Low-grit sandpaper is very rough.
Best used for:
- Heavy material removal
- Wood shaping
- Major surface damage
For wall painting:
❌ Almost never needed
❌ Can damage drywall
If you’re working on walls, you can safely skip this range.
Medium Grit (120–150): For Repairs and Rough Spots
This grit range is useful sometimes, especially after repairs.
Best used for:
- Smoothing spackle or joint compound
- Knocking down raised patch edges
- Fixing small ridges or texture issues
Beginner tip:
Use a light touch. Let the sandpaper do the work.
Fine Grit (180–220): The Sweet Spot for Walls
This is where most wall prep happens.
Best used for:
- Final smoothing of repairs
- Light scuff sanding before painting
- Dulling glossy paint
If you’re only buying one grit for wall painting, this is the safest choice.
Very Fine Grit (240+): Optional Finishing Touch
Very fine grits are used for subtle smoothing.
Best used for:
- Feathering edges so patches blend invisibly
- Light final pass before primer or paint
Not required for every project — but nice if you want extra smooth results.
Sanding Before Primer vs Before Paint
- Before primer: Sanding helps primer grip and level out repairs
- Before paint: Sanding removes dust nibs and smooths imperfections
You don’t need aggressive sanding at either stage — just consistency.
What Tools Make Sanding Easier for Beginners
You don’t need power tools.
Beginner-friendly options:
- Sanding sponges (easy to control)
- Fine-grit sandpaper
- Light pressure
Your hand will tell you when the surface feels right — smoother, not perfect.
A Simple Beginner Sanding Rule
If you’re unsure whether to sand, try this test:
- Run your hand over the wall
- If you feel bumps, ridges, or sharp edges → sand lightly
- If it feels smooth → you’re probably good
Your hand is a better judge than your eyes.
Common Beginner Sanding Mistakes (and How to Avoid Them)
- Over-sanding: Use light pressure
- Using grit that’s too rough: Stick to 120–220
- Skipping dust cleanup: Always wipe walls after sanding
- Sanding wet surfaces: Always let repairs dry fully
These are learning moments — not failures.
Final Thoughts
Sanding isn’t about making walls perfect — it’s about making paint behave better. A little sanding can prevent roller marks, visible patches, and uneven texture, and it often takes less time than fixing problems after painting.
Once you understand sanding, it stops feeling like an extra step and starts feeling like insurance.
Sandpaper Grit Comparison for Wall Painting Projects
| Grit Range | Texture | Best Used For | Beginner Notes |
|---|---|---|---|
| 60–80 | Very rough | Heavy material removal (wood, major damage) | ❌ Not recommended for drywall or walls |
| 100–120 | Rough–medium | Smoothing thick patches or rough repairs | Use lightly and only on problem spots |
| 150–180 | Medium | Leveling spackle and joint compound | Good for repairs before primer |
| 180–220 | Fine | Light sanding before painting or priming | ⭐ Best all-around choice for walls |
| 220–240 | Very fine | Final smoothing and feathering edges | Optional but great for polished results |
| 240+ | Extra fine | Light touch-ups between coats | Not necessary for most beginner projects |
Beginner Shortcut (If You Only Buy One Grit)
Choose 180–220 grit
It’s:
- Gentle on drywall
- Forgiving if you press a little too hard
- Perfect for most wall prep before painting
Pro Beginner Tip
You’re not trying to sand walls flat — you’re just:
- Knocking down raised spots
- Smoothing repairs
- Giving paint something to grip
If the wall feels smooth when you run your hand over it, you’re done.
Leave a Reply