
If you’re standing in front of a wall of paint cans for the first time, you might feel like you’re in a candy store — but instead of chocolate, it’s hundreds of colors, finishes, and labels shouting at you.
I’ve been there. At first, I thought, “Isn’t paint just paint?”
Turns out, there’s a little more to it — and understanding the basics can make your first painting project a lot less stressful (and way more fun). Let’s walk through it together.
Step 1: Decide What Room You’re Painting
The first thing to think about is where the paint will go, because not all paints work well everywhere.
- High-traffic areas like hallways, kitchens, and kids’ rooms need durable, washable paints.
- Bathrooms and other humid spaces need paints that resist moisture and mildew.
- Bedrooms or living rooms can use softer finishes for a cozy look.
Knowing the room helps narrow your choices from hundreds to just a few cans.
Step 2: Choose the Finish (Sheen)
Paint finish — also called sheen — affects how the wall looks and how easy it is to clean.
Here’s a simple breakdown:
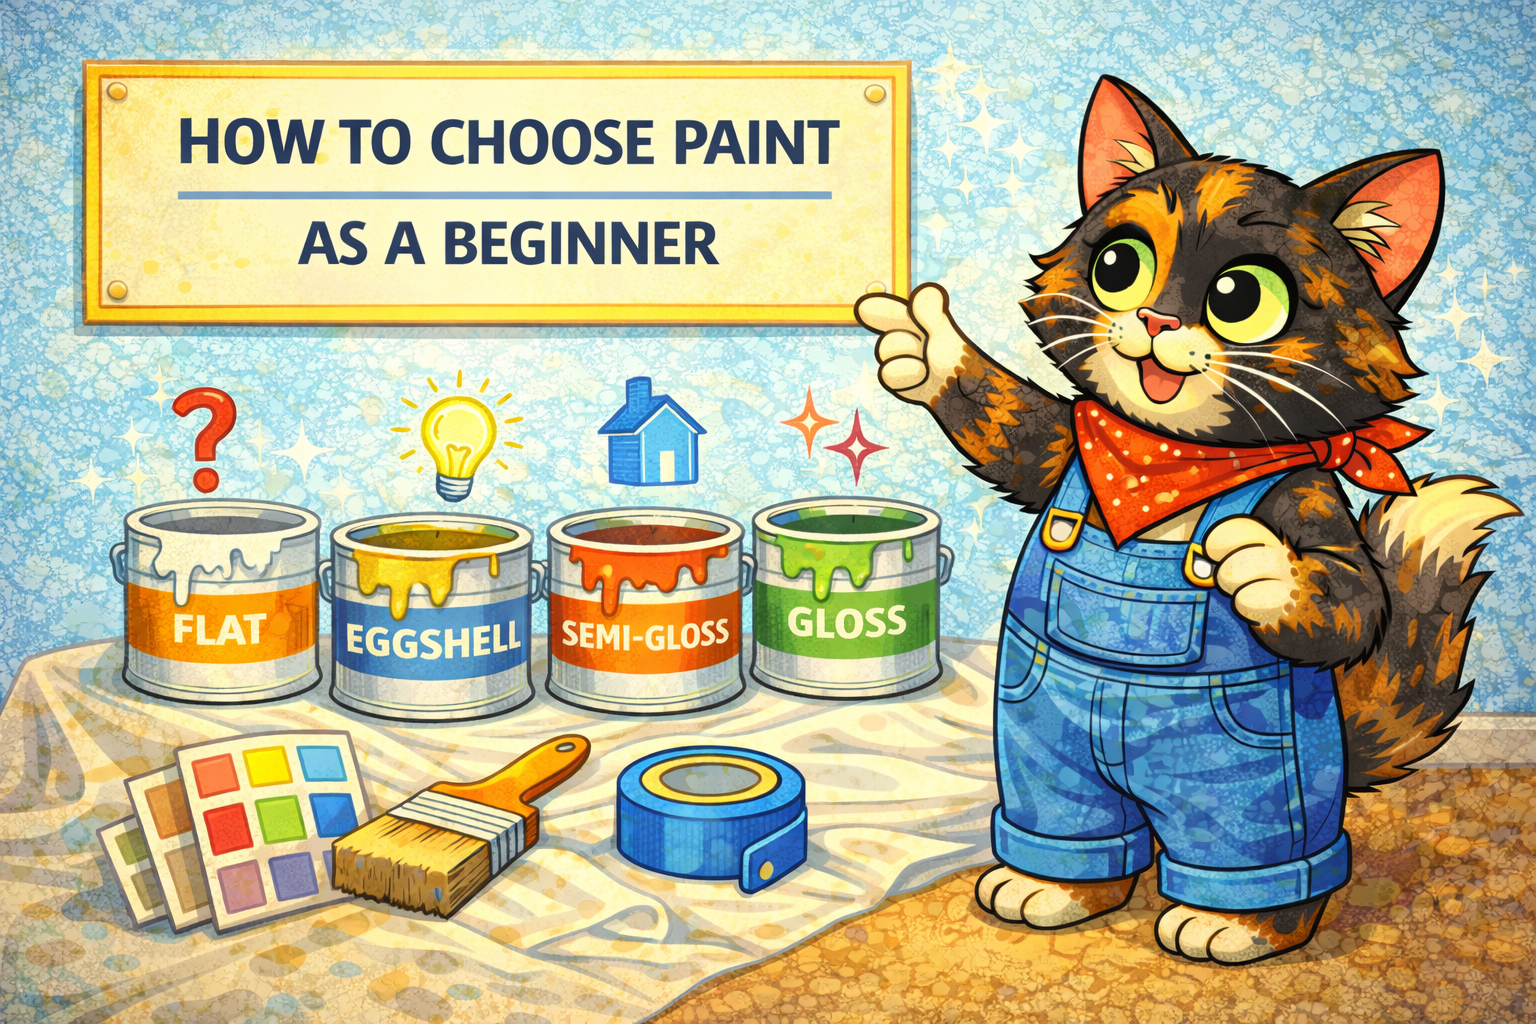
- Flat/Matte: Hides wall imperfections well but harder to clean.
- Eggshell: Slight shine, easier to wipe clean, good for most walls.
- Satin: Smooth and durable, very beginner-friendly.
- Semi-Gloss: Shiny, great for trim and high-use areas, easy to clean.
- Gloss/High-Gloss: Super shiny, very washable, but shows bumps and brush strokes.
For beginners, eggshell or satin is usually the safest choice.
Step 3: Consider Color
Choosing color can feel overwhelming, but there’s an easy trick:
- Lighter colors cover better and are more forgiving.
- Dark or bold colors often need more coats.
- Test a small swatch on your wall — lighting changes how the color looks.
And don’t forget about undertones — a red wall can have pink, orange, or brown undertones depending on the brand.
Step 4: Check the Labels (VOCs, Washability, Durability)
Paint cans are full of information, and a few labels are worth paying attention to:
- Low-VOC or Zero-VOC: Better for indoor air quality, especially in bedrooms or nurseries.
- Washable / Scrubbable: Makes cleaning fingerprints and stains easier.
- Interior vs Exterior: Don’t mix them up — exterior paint is formulated differently.
These little details can save headaches later.
Step 5: Decide How Many Coats You’ll Need
Some paints cover in one coat, others need two or three. Factors that affect this:
- Color contrast (dark over light, or bright over neutral)
- Wall condition (primer may help)
- Paint quality
For beginners, planning for at least two coats is usually safe.
Step 6: Don’t Forget Your Tools
Even the best paint can be frustrating if you have the wrong tools.
- Rollers for walls and ceilings
- Brushes for trim and corners
- Painter’s tape for clean edges
- Drop cloths for floors and furniture
Having the right tools makes the painting experience easier and more fun.
A Simple Way to Remember It
When choosing paint as a beginner:
- Pick the room → determines durability and moisture needs
- Pick the finish → affects cleanability and shine
- Pick the color → start light or test swatches
- Check labels → low-VOC, washable, interior/exterior
- Plan for coats → don’t expect magic coverage
- Grab the right tools → makes life easier
Final Thoughts
Choosing paint doesn’t have to be scary. Once you know what room you’re painting, what finish works best, and what labels matter, everything else falls into place.
Paint is forgiving, and part of the fun is learning as you go. With the right choices, your first painting project can be smooth, colorful, and totally satisfying.
And hey — once you get the hang of it, picking paint starts to feel like an adventure instead of a chore.
Leave a Reply