
If you’ve ever rolled paint on a wall and ended up with streaks, splatter, or weird patchy spots, you’re not alone. Paint rollers are beginner-friendly tools, but they do have a bit of a learning curve — mostly because no one ever explains how to use them properly.
Good news: once you know the basics, rolling paint becomes easy, fast, and kind of satisfying.
Let’s break it down.
Step 1: Choose the Right Roller (Quickly)
Before paint even hits the wall, the roller matters.
For most beginner wall projects:
- Roller width: 9 inches
- Nap length:
- Smooth walls → ¼”–⅜”
- Light texture → ½”
A roller that’s too fluffy or too smooth can cause uneven coverage.
Step 2: Prep the Roller (Don’t Skip This)
New rollers need a little prep.
Here’s what to do:
- Rinse the roller cover with water
- Squeeze out excess moisture
- Shake it off
This removes loose fibers and helps paint absorb evenly.
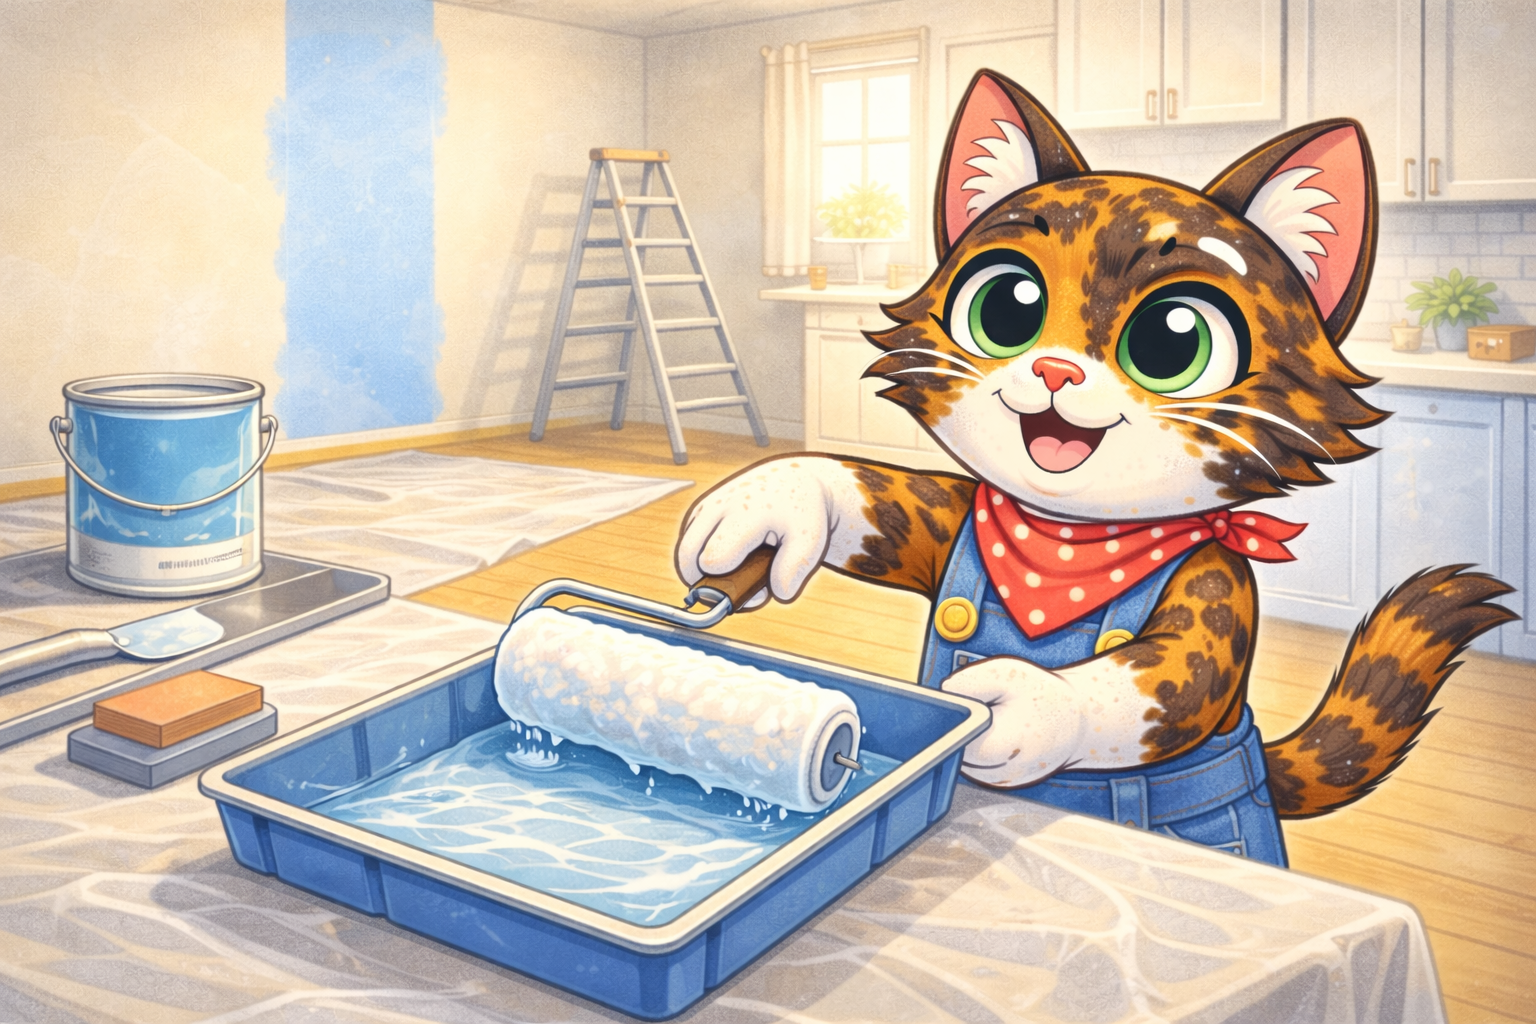
Step 3: Load the Roller With Paint
This is where many beginners go wrong.
- Pour paint into a tray
- Roll the roller through the paint
- Roll it up the tray’s ramp to spread the paint
The roller should be fully coated but not dripping.
If paint is dripping, there’s too much on the roller.
Here’s what properly loading a paint roller looks like in action:
If your roller looks like this, you’re doing it right.
Step 4: Start With a “W” or “M” Shape
Instead of rolling straight up and down right away:
- Roll a loose W or M shape on the wall
- Don’t press hard
- Spread the paint out evenly
This helps distribute paint before smoothing it out.
Step 5: Fill It In With Light Pressure
Once the paint is on the wall:
- Roll vertically to fill in gaps
- Use light, even pressure
- Let the roller do the work
Pressing harder doesn’t give better coverage — it causes streaks.
Step 6: Work in Small Sections
Paint one section at a time:
- About 3–4 feet wide
- Floor to ceiling
Finish each section before moving on. This keeps a “wet edge” and prevents lap marks.
Step 7: Reload Before the Roller Runs Dry
If the roller starts to feel draggy or squeaky, it’s time to reload.
Signs your roller is too dry:
- Patchy coverage
- Visible roller lines
- Extra pressure needed
Reload often — it actually gives a smoother finish.
Step 8: Smooth With Final Light Passes
After covering a section:
- Do one last light pass from top to bottom
- Don’t reload paint for this step
This evens out texture and helps the paint level as it dries.
Step 9: Let the First Coat Dry (Hands Off!)
This part is hard, but important.
- Don’t touch up drying paint
- Don’t re-roll half-dry areas
- Let it dry completely
Touching drying paint usually makes things worse, not better.
Step 10: Repeat for the Second Coat
Most walls need two coats.
The second coat:
- Looks smoother
- Covers missed spots
- Makes color more even
Repeat the same steps — it usually goes faster the second time.
Common Beginner Roller Mistakes (Quick Heads-Up)
❌ Pressing too hard
❌ Using a dry roller
❌ Overloading paint
❌ Working in random directions
❌ Touching paint while it dries
Avoiding these alone puts you ahead of the curve.
Final Thoughts
Using a paint roller well isn’t about strength or speed — it’s about rhythm, light pressure, and patience. Once you get the hang of it, rolling paint becomes one of the easiest and most satisfying parts of painting.
And remember: even imperfect roller jobs usually look great once everything dries and the room is back together.
FAQ
Quick answers to the most common beginner questions.
Use light to moderate pressure. The roller should glide smoothly across the wall—pressing too hard can cause streaks, roller marks, and uneven coverage.
Streaks usually happen when the roller is too dry, pressed too hard, or not loaded evenly with paint. Rolling over partially dried paint can also leave visible lines.
Reload the roller when it starts to feel dry or stops spreading paint evenly. If you have to press harder to get coverage, it’s time to reload.
Yes, you can use the same roller as long as the nap length works for both surfaces and you’re using the same type of paint. Make sure the roller is evenly loaded to avoid splatter on ceilings.
Yes. Smooth walls work best with a shorter nap, while textured walls need a thicker nap to reach into grooves and bumps for even coverage.
Leave a Reply