
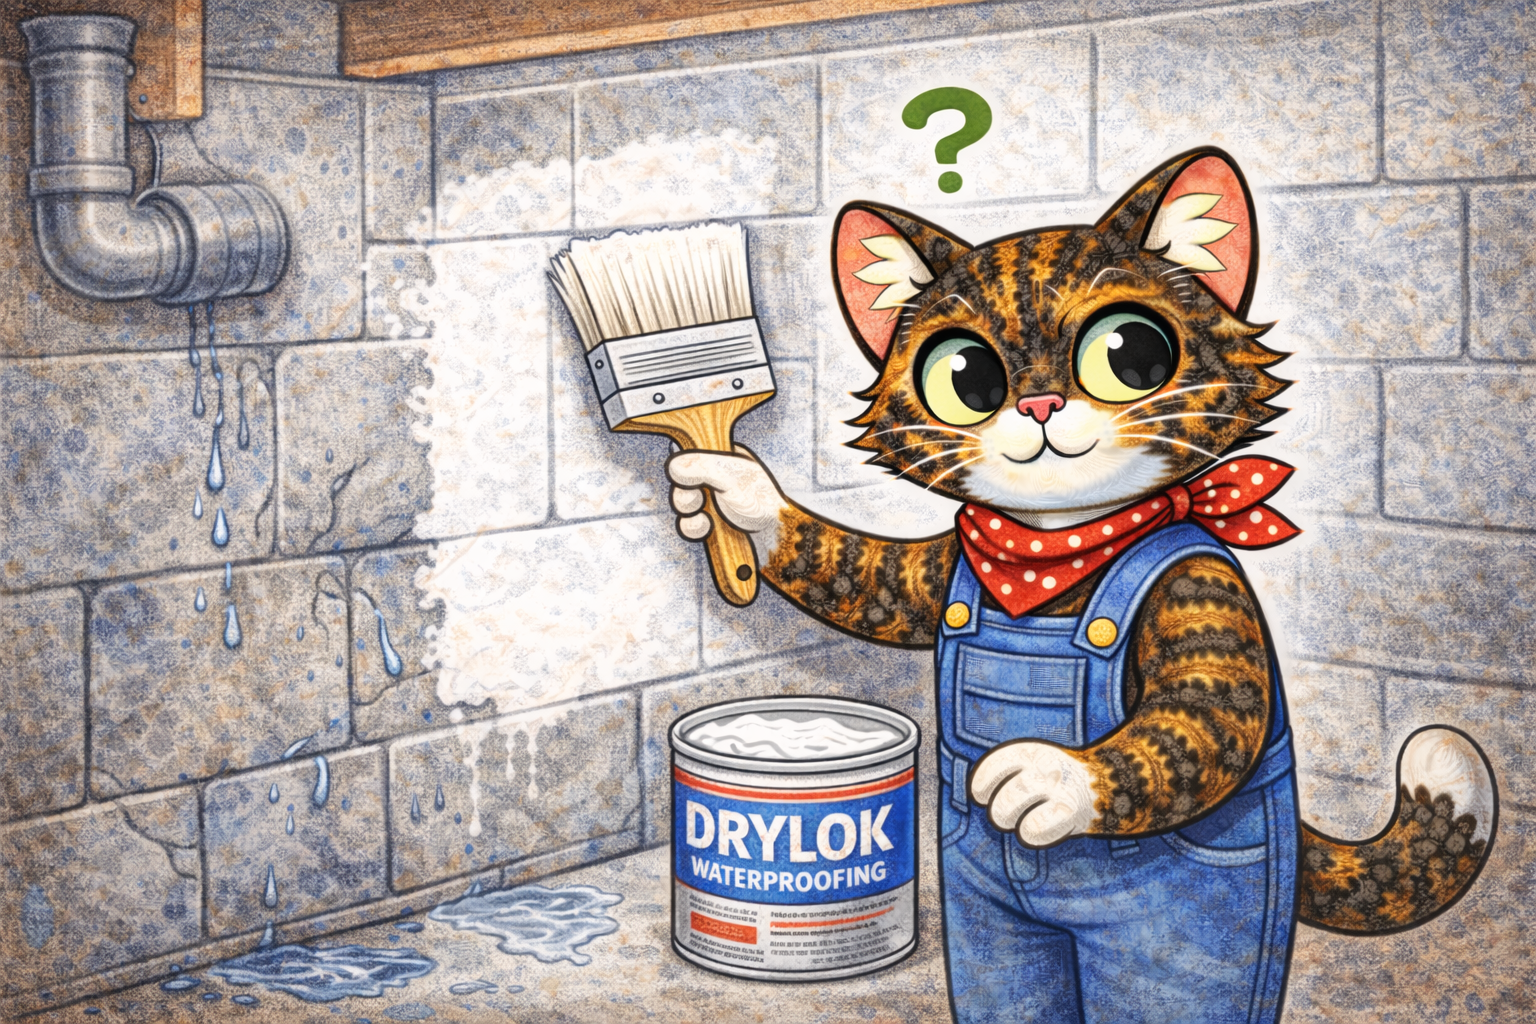
If you’ve ever Googled something like “how to stop water from coming through basement walls”, you’ve probably run into Drylok. It gets mentioned a lot in DIY spaces — usually with big promises about stopping moisture.
But what is Drylok, what does it actually do, and when does it make sense to use it?
Let’s break it down together.
What Drylok Actually Is
Drylok is not regular paint. It’s a masonry waterproofing coating designed to block moisture from coming through porous surfaces.
Think of it as a thick, protective barrier that sits on top of materials like:
- Concrete
- Masonry
- Cinder block
- Brick
It’s most commonly used on basement walls, foundation walls, and masonry surfaces that are prone to moisture.
What Drylok Does (in Simple Terms)
Drylok works by:
- Filling tiny pores in masonry
- Creating a dense coating that resists water pressure
- Helping prevent moisture from seeping through walls
It’s designed to handle hydrostatic pressure, which is the force water creates when it presses against a wall from the outside (like wet soil around a basement).
Important note: Drylok helps block moisture from entering, but it does not fix underlying drainage or foundation problems.
What Drylok Is Not
This part matters — especially for beginners.
Drylok is not:
- A fix for major structural leaks
- A replacement for exterior waterproofing
- A solution for standing water issues
- Regular interior wall paint
If water is actively pouring in or pooling, Drylok alone won’t solve the root problem.
When Drylok Makes Sense
Drylok can be a good choice if:
- You see damp spots or moisture staining
- Basement walls feel cold or slightly wet
- You want extra protection before finishing a basement
- You’re dealing with light to moderate moisture issues
It’s often used as a preventative step, not an emergency repair.
When Drylok Is Not the Right Tool
Drylok may not be enough if:
- Water is actively flowing through cracks
- You have standing water or flooding
- Walls are crumbling or severely damaged
- The moisture issue comes from plumbing leaks
In those cases, fixing the source of the problem comes first.
What It’s Like to Apply Drylok
This is where beginners often go, “Oh wow… this is different.”
Drylok:
- Is much thicker than regular paint
- Feels heavy and gritty
- Usually requires a stiff masonry brush or thick roller
- Takes more effort to apply evenly
It’s normal for it to feel harder to work with — that’s part of what makes it effective.
Prep Work Is Extra Important
Drylok only works if it can properly bond to the surface.
That means:
- Cleaning dirt, dust, and mildew thoroughly
- Removing loose or flaking material
- Repairing cracks before applying
- Making sure the surface is bare masonry (not painted with regular paint)
Skipping prep is one of the biggest reasons Drylok fails.
Can You Paint Over Drylok?
Yes — but only after it fully cures, and only with paint that’s compatible with masonry surfaces.
Many people:
- Use Drylok as a base layer
- Then apply masonry-safe paint on top
Always check the product instructions to confirm drying and curing times.
Is Drylok Beginner-Friendly?
Yes — with realistic expectations.
It doesn’t require professional tools or special skills, but it does require patience and prep. It’s not a quick cosmetic fix; it’s a functional coating meant to do a tough job.
If you go into it knowing that, it’s very manageable for beginners.
Final Thoughts
Drylok is best thought of as a moisture-control tool, not a miracle cure. When used on the right surfaces, with proper prep, it can be incredibly effective at reducing dampness and protecting masonry walls.
If you’re dealing with light moisture issues and want extra protection — especially in basements — Drylok can be a smart step. Just remember: solving moisture problems always starts with understanding why the moisture is there in the first place.
Leave a Reply